Fermentation Log
As I make ferments I like, I'll log them here under their type and start date. If you would like a mostly comprehensive cabbage ferment instructable, check out the recipe section of the Italian Herbs Sauerkraut. All cabbage sections following will only contain the ingredients, progress pictures, and flavor profile description direct from my written ferments diary.
Happy Fermenting!
Italian Herbs Sauerkraut, 11/30/20-01/21/21
Relatively sour, faintly sweet, moderate garlic, fairly salty, strong but pleasant basil/oregano taste (similar to "Italian" salad dressing), "full" rounded flavor.
Recipe
November 30th, 2020
Whoa! I started a ferment today. I'm really excited to see how this one turns out. I used dried basil, dried oregano, black pepper, minced garlic, and roughly chopped shallots. Read on for an unnecessarily in-depth explanation of what I did in case you would like to start your own ferment for the first time, or if you like pickles and Italian sub garnishes! There are a couple pictures for folks who like those or find those helpful.
Objects you will need:
- a very big and/or wide bowl
- a food scale *optional, see notes
- a cutting board (I use a really big one)
- a wide-mouth, 2 litre ball jar or designated fermentation crock, with an air-tight cap
- a smaller ball jar that fits inside the larger ball jar with lots of room
- masking tape or a piece of paper you won't lose, and a writing implement
- a clean dish towel that covers the ball jar from any light sources
- four pinch bowls, plates, or anything really for measuring out your ingredients
- a moderately dark place with a stable room temperature (can be cooler than room temp)
- a timer or highly visible clock
Food Items you will need (measurements I took in my batch are italicized):
- one head of green cabbage 1560 grams
- table salt 33 grams
- dried basil (fresh is great if you have it) 0.5 teaspoon--too small to measure in oz or grams
- dried oregano (fresh is great if you have it) 0.5 teaspoon--too small to measure in oz or grams
- coarsely ground black pepper (any grind is fine, I just like mine coarse) 0.25 teaspoon
- minced garlic 20 grams
- one medium, roughly chopped shallot 53 grams
Directions
First thing's first! Make sure your work space is VERY clean. We don't want to introduce any unhelpful bacteria, mold, bug eggs, or other nasties into the batch. I use strong, neutral alcohol to clean the counter, the cutting board, the knife, the work surface of the scale, the pinch bowls, and the big bowl. (I don't clean the ball jars until right before I pack the ferment--I'll explain when we get there.) You can use warm soapy water or an all-purpose cleaner instead. Once everything is clean, wash your hands. If at any point during the process you can't remember if you've washed your hands, wash them again.
Now let's prepare the cabbage. First, remove the top two to three leaves, doing your best not to rip them, and set them aside (you'll need them at the end). I balance the cabbage on its stem, and cut it into eighths. Once you have eight wedges, start shredding from the crown down to the base, making roughly similar-sized shreds. Don't bother to include the core--it won't break down. If you don't have enough space on your board to shred the whole head in one go, place your big bowl on the scale and tare it. Once you've tared it, you can start putting your cabbage in the bowl. I like to work in grams. Record the final weight of your shredded cabbage on the masking tape.
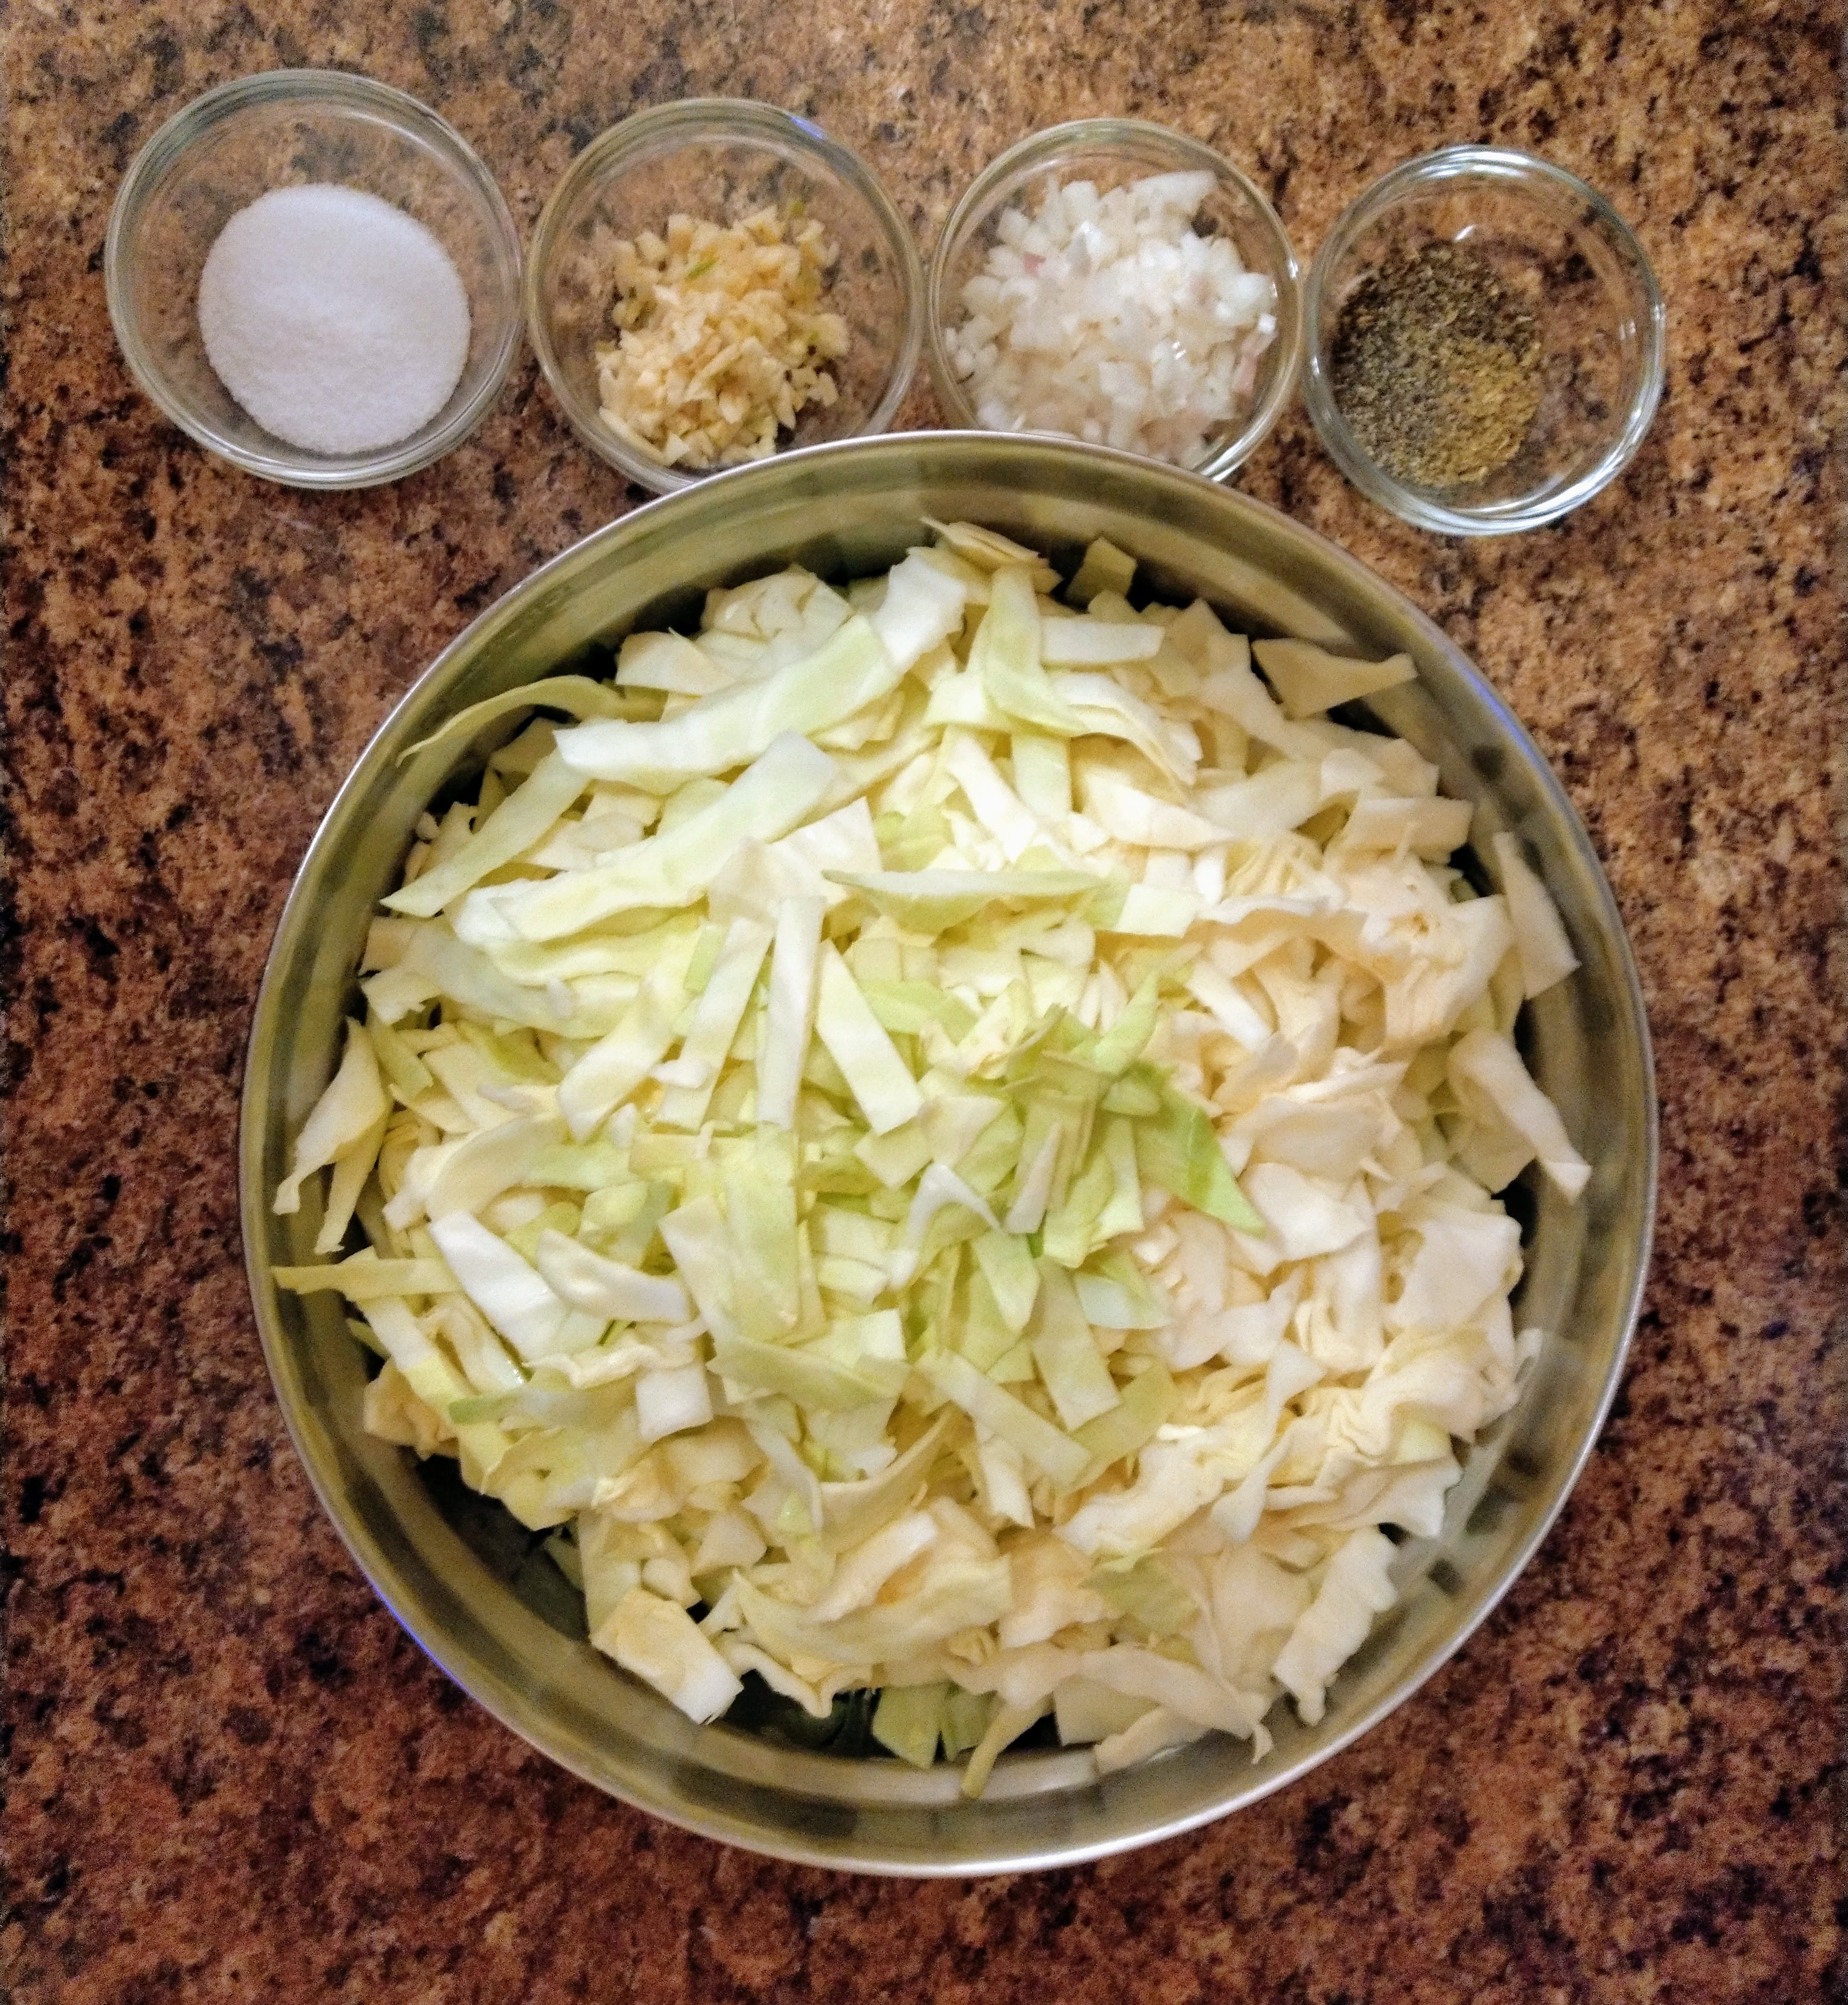
Wash your hands, and then wash your cabbage in running, cool water until you are satisfied with the color of and lack of dirt in the water. Drain the cabbage, set it aside and let it rest. At this step, you can ignore how I've flavored mine and get creative with your flavors. You can add anything you want that doesn't have added sugar or oil in it. If you're doing mine, do the rest of this paragraph; if not, skip on ahead down to the next one. Mince your garlic, measure it into a tared pinch bowl, set aside. Roughly chop your shallot, measure it into a tared pinch bowl, set aside. Measure your dried basil, dried oregano, and black pepper into the third pinch bowl and set aside. Write all of the measurements you just took on your masking tape.
Now we need to do some math! You need a ratio of 2% salt based on the weight of cabbage and any other sugary veggies in your unique mix. I simplified the equation and solved for salt for my Python SauerKrautculator program. Luckily, you don't need that program to use this formula:
(cabbage+veggies) / 49 = salt
All you have to do is plug in your "cabbage+veggies" value in whatever weight-based unit you used, and you will get back out the weight of salt that you need in that same unit. In my case, I had 1560 grams of cabbage, and 53 grams of shallots. I include the shallots in my weight measurement this time because they have more sugar than other onion-adjacents. If I plug my values into the equation, I get roughly 33 grams out:
(1560 + 53) grams/ 49 = 32.918 grams salt

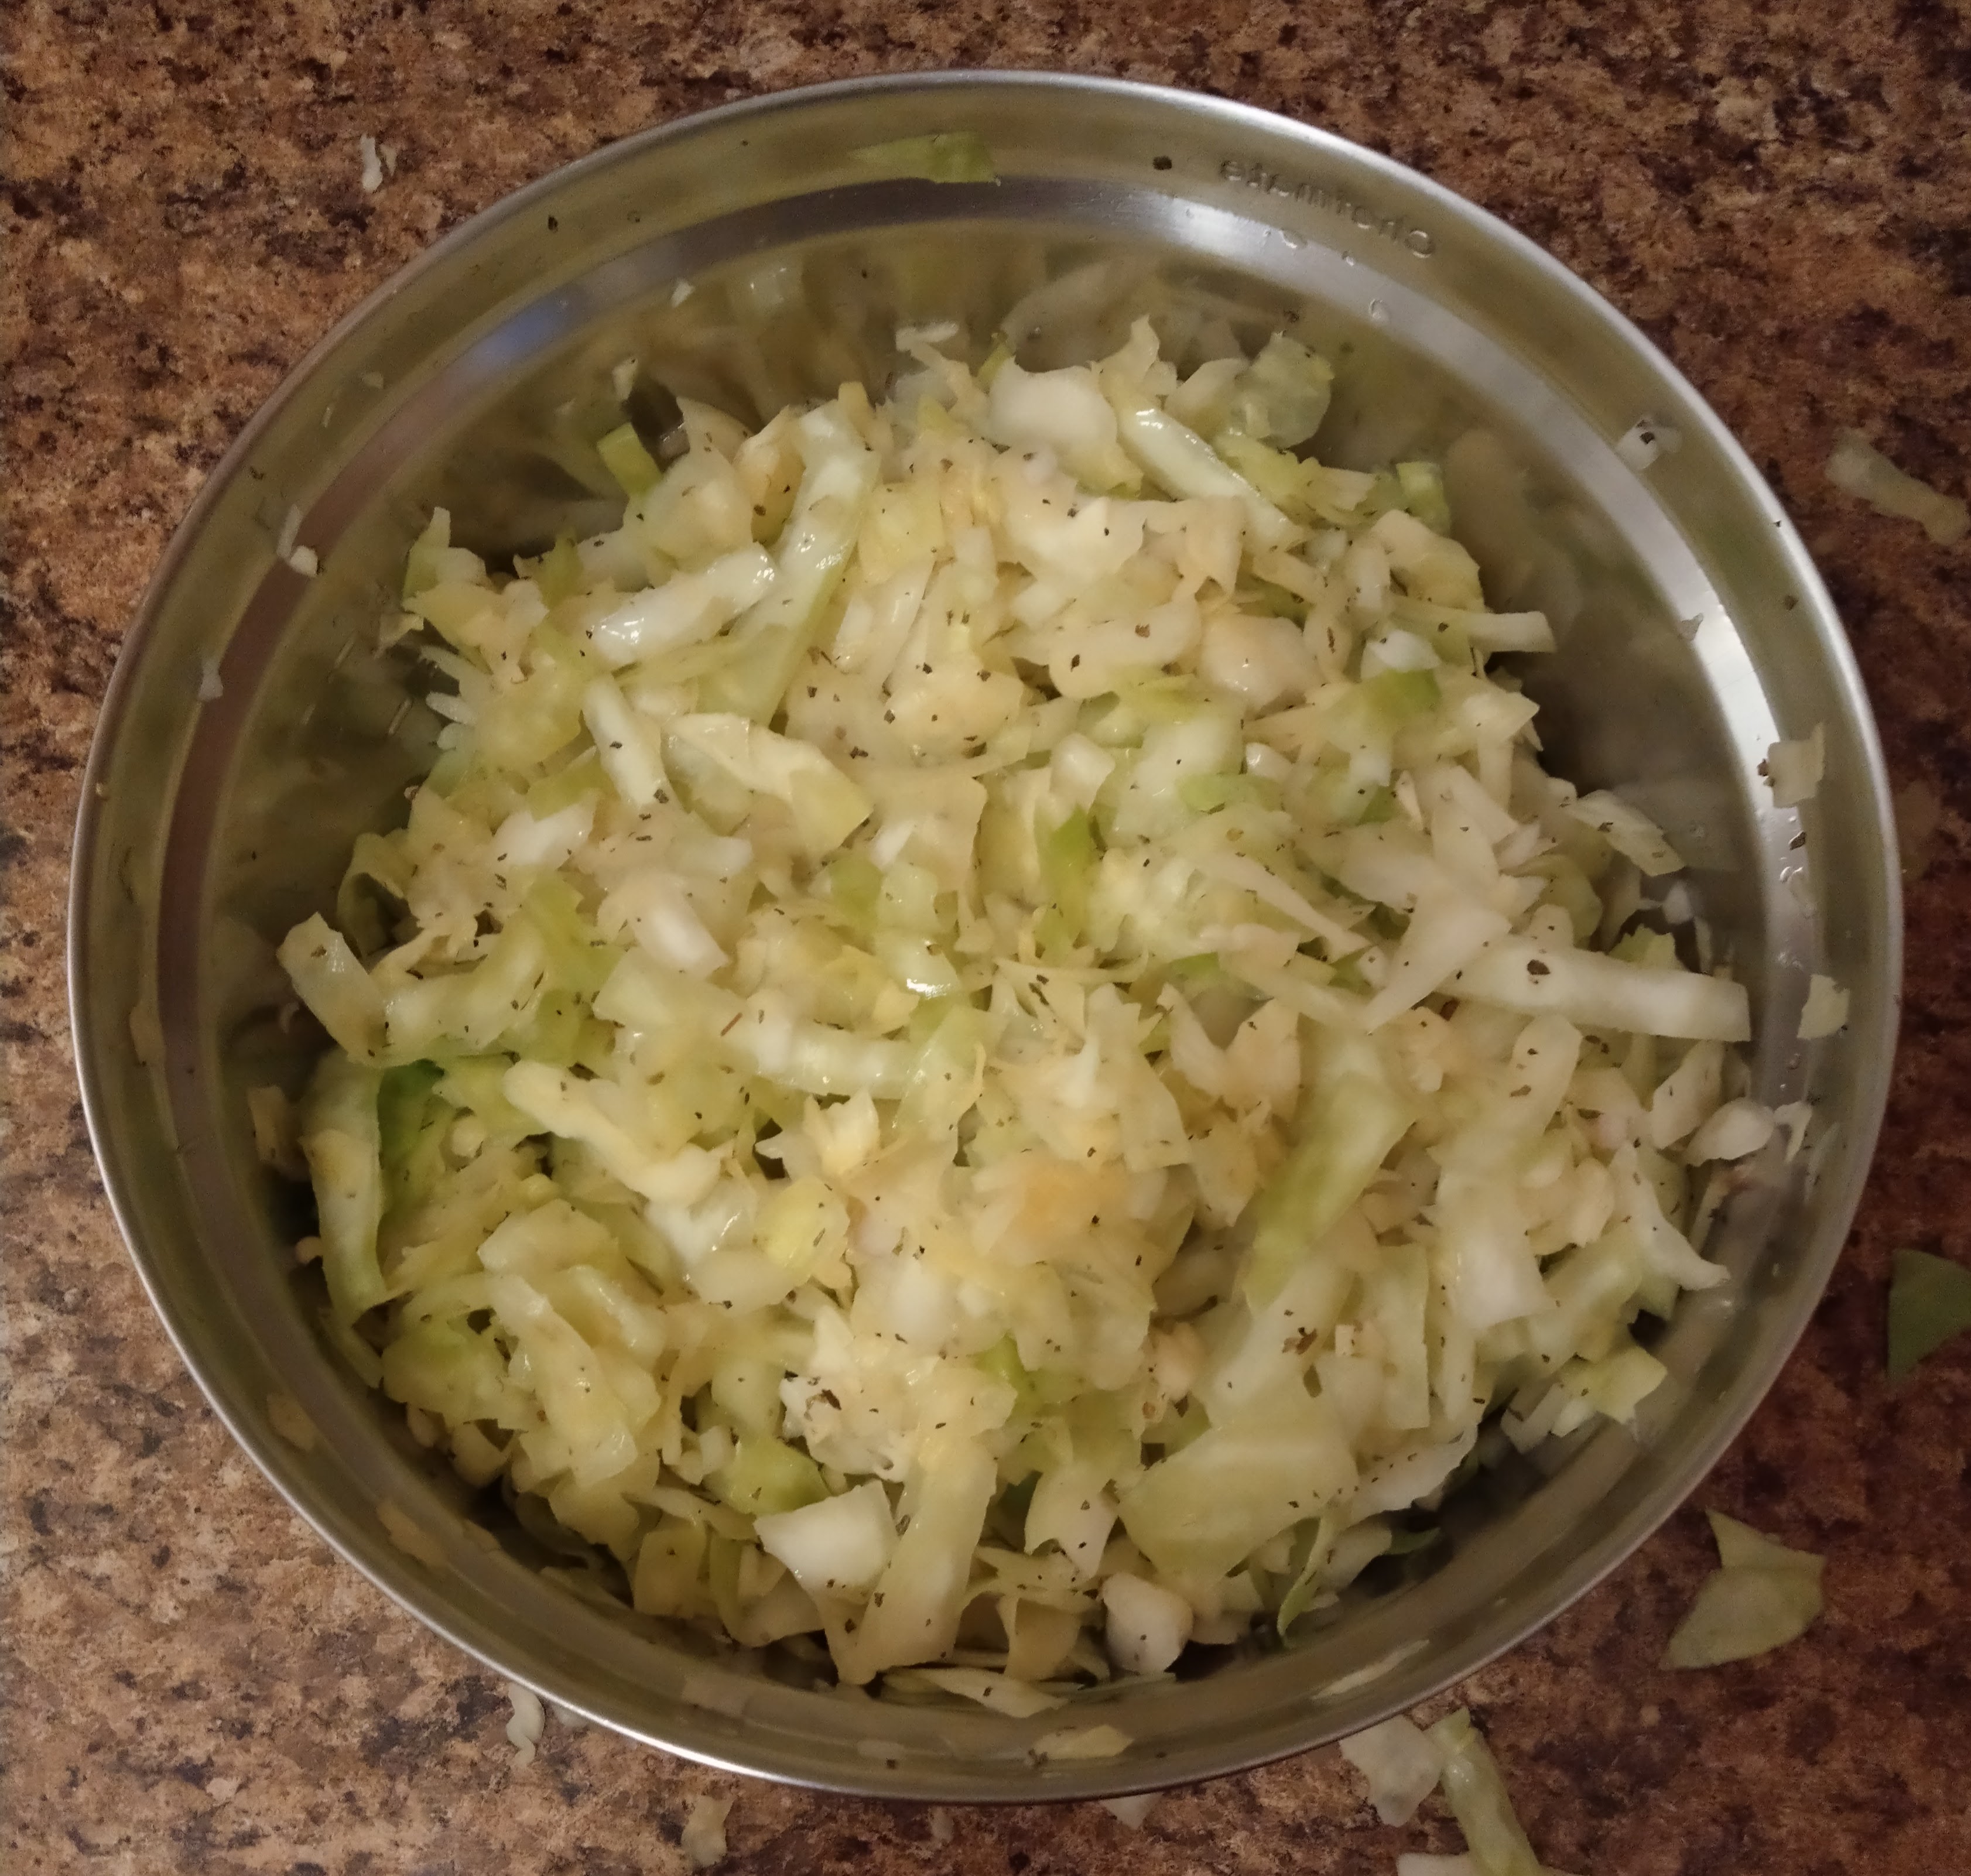
So now it's time to measure the salt! Tare your last pinch bowl, and measure out the amount of salt you just calculated you need. Pour it over your cabbage. Look at what you've done. Wash your hands. Get ready. Look at the clock or set your timer for 10 minutes to start. Ready? Start punching the cabbage. I mean it. Punch it down into the bowl. Take fistfuls and squeeze them as hard as you can. Feel the salt grains. Rotate the untouched shreds from the bottom back up to the top. Squeeze, punch, squeeze. It's getting slimy, right? That's great! We need to work a lot of the moisture out of the shreds in this step. The more wilted it looks, paradoxically the crunchier the finished product will be. Has it been ten minutes? Ok, check the bottom of the bowl for how much liquid you've extracted by gently scooping away from the side. Does it seem like a lot for how much cabbage is in the bowl? If so, stop here. If not, keep beating that cabbage up for no more than 10 additional minutes. Pour your flavorings--the shallot, garlic, basil, oregano, and pepper (or your own concoction) into the cabbage and thoroughly incorporate it. Wash your raw, painful hands and drink a glass of water before the next step.
Wash your ball jars and lids with warm soapy water and place them bottoms-down on a clean surface to air dry for a couple of minutes. I save this step for last because I don't have a dishwasher so the best I can do without sterlizing them (which might hurt our good bacteria when we add the cabbage) is washing them right before I jar it all up. Set up your bowl and large ball jar for your handed-ness. I am left-handed, so I prefer to have my ball jar on my left and the bowl on my right to work towards my dominant side. If you are a righty, I suggest ball jar on right and bowl on left. Alright, so now we need to pack the cabbage mixture into the jar. After each fistful of mixture, carefully tamp it down with your fist. Keep adding the mixture until all you have left is liquid. Go ahead and pour that liquid into the jar. Remember those leaves I asked you to set aside? We're going to use them to create a barrier that keeps the cabbage mixture submerged! Rip them to the sizes you need, and pack them in with the concave side facing up (like a bowl). Once you have them packed in nicely, shove your fist in there one more time to push everything down the best you can. Look at your beautiful jar for a second--you did that with your own hands!
Now wipe the rim of the jar clean with a paper towel (or whatever form of sanitary paper you have). Fit the smaller ball jar without the lid inside of the larger one with the mouth facing up. It will have to clear the mouth of the larger ball jar. Screw the lid onto the larger jar. Put your tape label(s) on the jar. Clearly place your start date somewhere on the jar. Make yourself a Burp and Tamp Log label--this one should be pretty long. Admire your jar for a couple of minutes. Now put the towel over it and place it in its resting place. Clean up your work space for your next adventure. Or for your roommate's next adventure. Or your pet's next adventure.
Now it's all about ~maintenance~. This baby will do their best once they have achieved an anaerobic environment, or one with little oxygen. Pressure will build up in the jar and you need to release it. In order to help your baby get to anaerobic bliss, they need to be burped at least once a day. IF YOU DO NOT BURP THIS FERMENT, IT WILL EXPLODE. I burp mine and tamp the cabbage mixture down about 2-3 times a day in the first week. After the first week, if you notice that it no longer builds pressure, that's good--it's on the next stage! Now you just need to leave it be for 3-5 more weeks. The longer it sits, the more sour it gets, and I love sour so I usually let mine go for a month to a month and a half.
That's all. You did it. Thanks for sticking with me through all that! Check back over the next couple of weeks for progress pictures of the one I just made if you so desire.
*If you don't have a scale at home, that's perfectly fine! Just make sure you get a weight measurement of your cabbage where you purchase it, whether that be a store or a farmer's market. If you grew it at home or receive it as a gift but still don't have a scale, lovely and fret not! Many cabbages are roughly 2 to 2.5 pounds. If you make a single batch, many people use the ratio of 1 tablespoon of salt per 2 pounds of cabbage.
12/01/2020
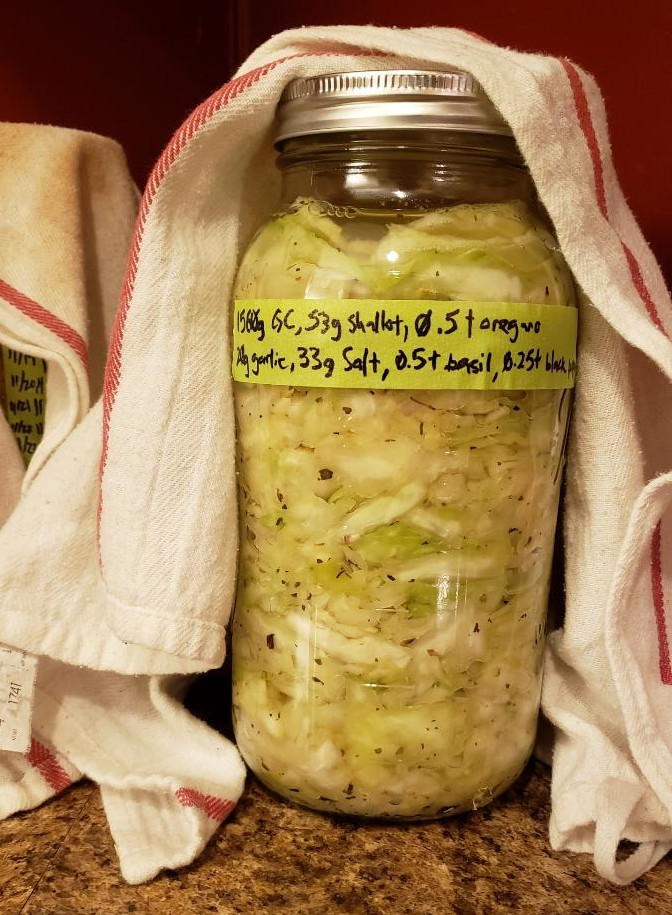
Anywho, here's the ferment I started last post. A lot of pressure and bubbles so far. The pressure release can be a satisfying stress-relief measure (I like the sound of that sentence). It's basically like a biiiig breath out that you've been holding in all day. Ahhh.
12/02/2020
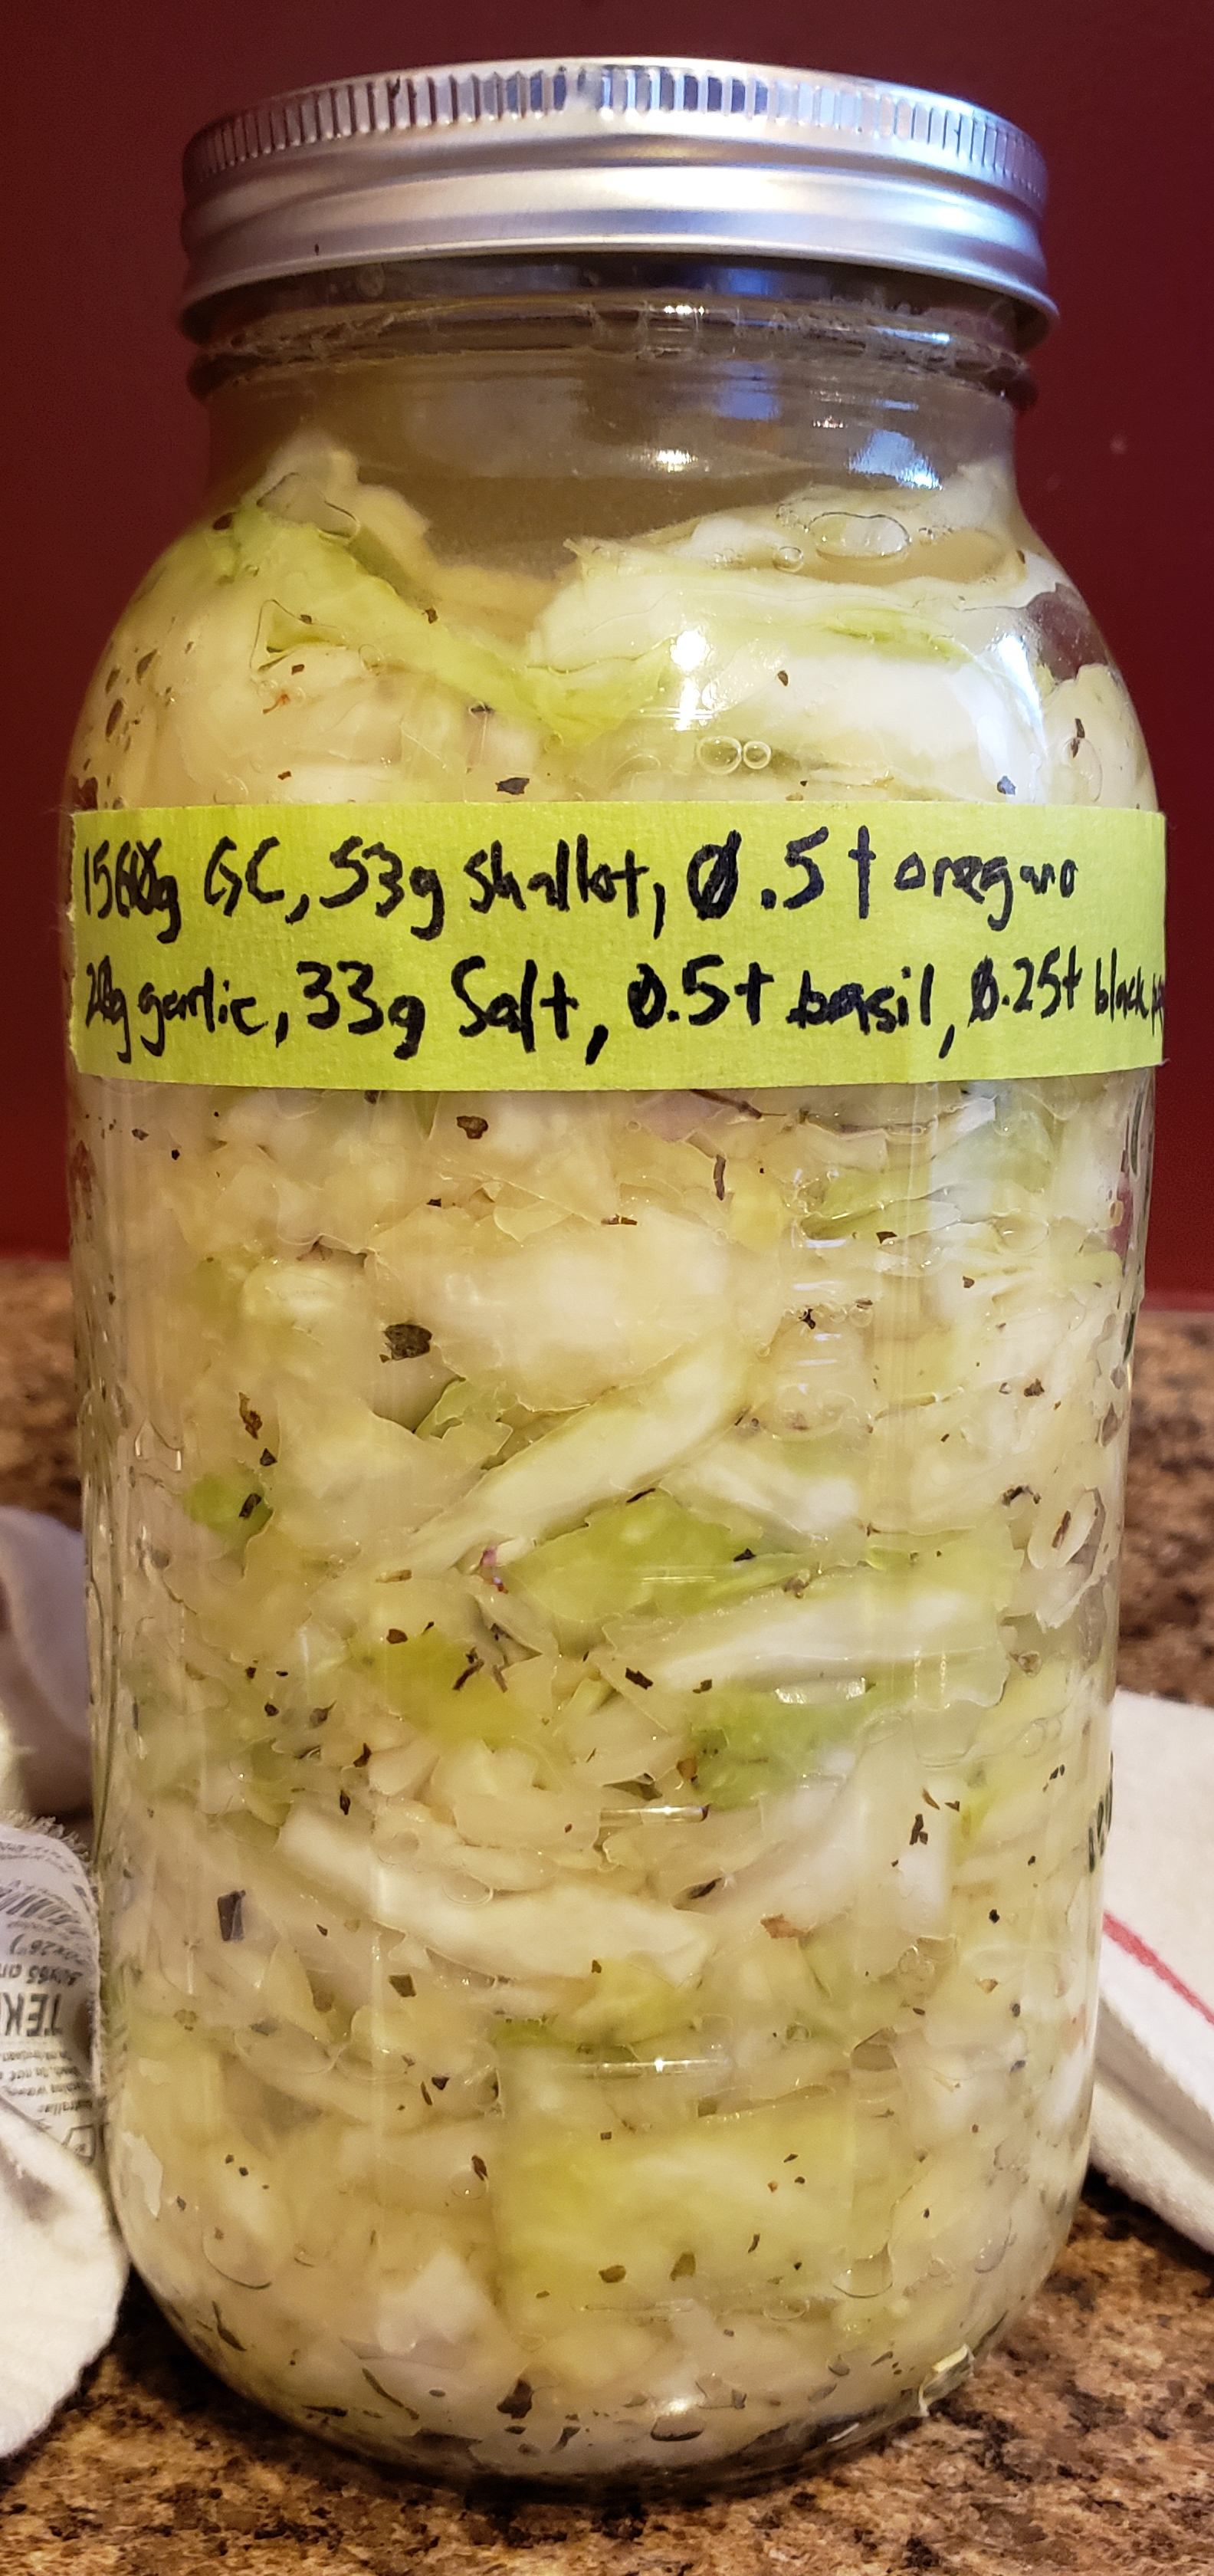
Here is a side progress picture. I am excited that this one is so active because the massage step didn't produce any white froth. So far whenever I have gotten froth, I have had a lot of activity from the ferment.
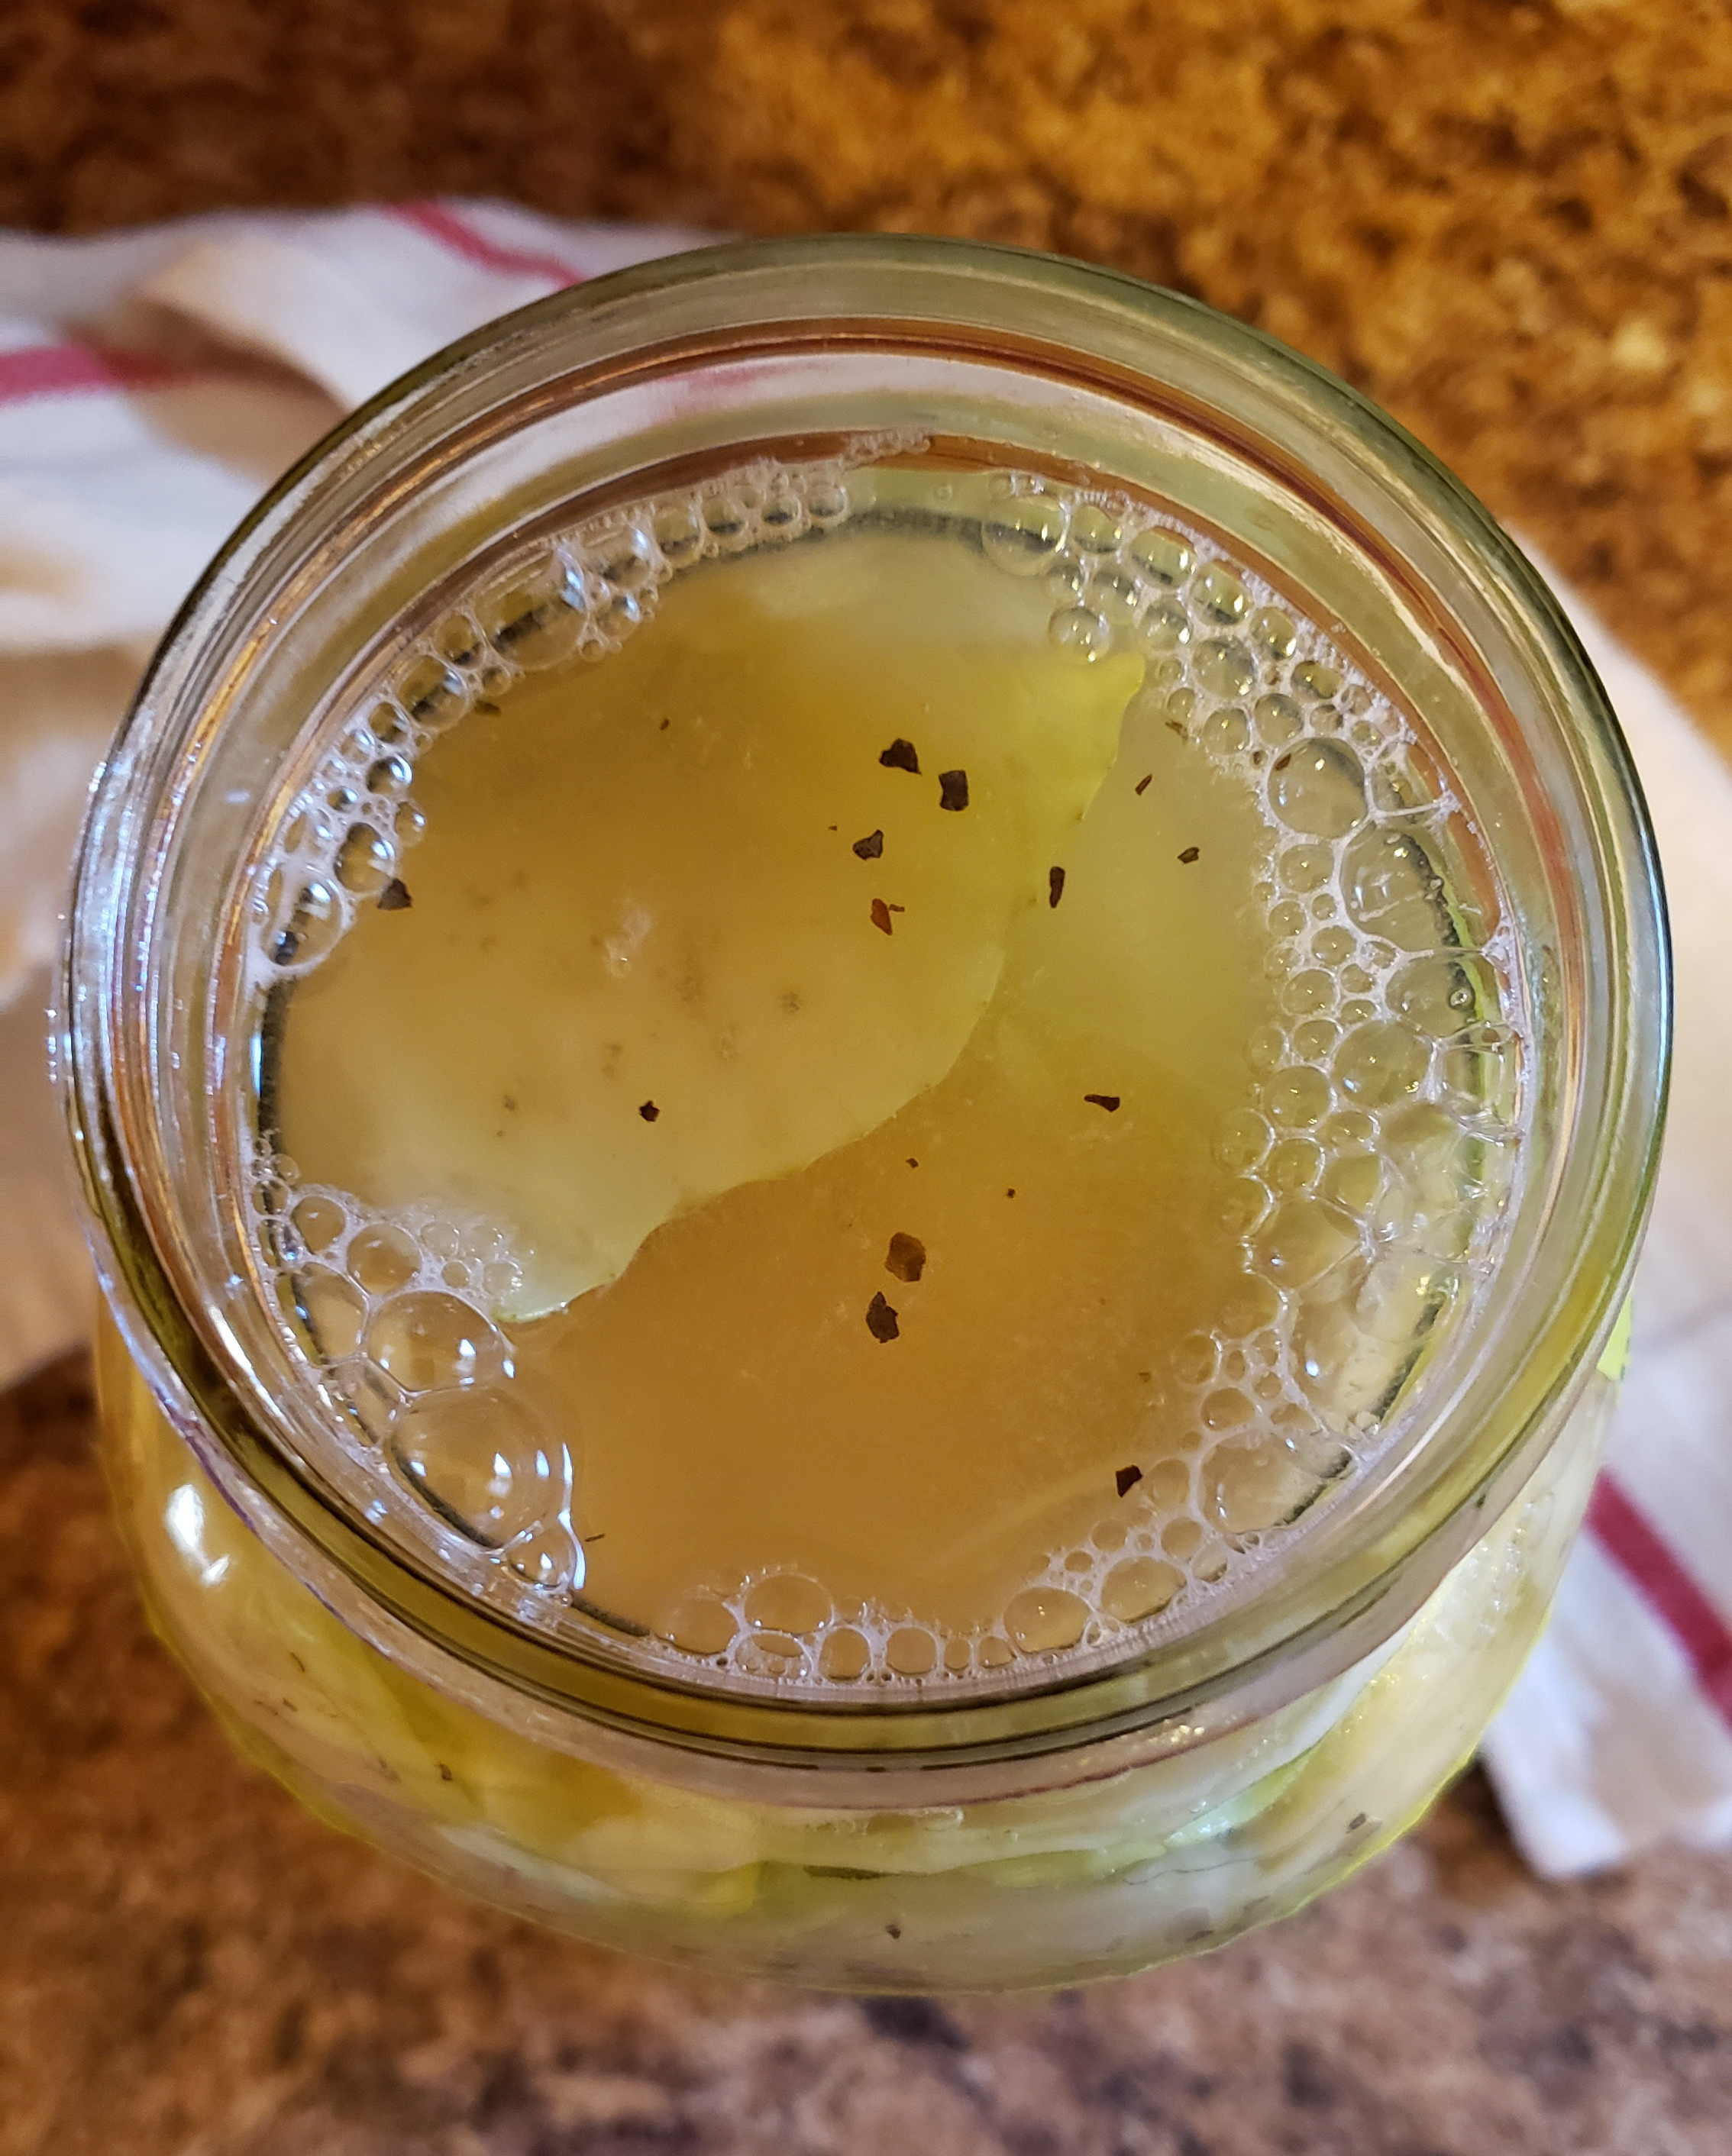
Look at those beautiful bubbles! It smells so good, I wish there were a way to share smells with you over the internet. I can try to describe it. It smells like a cold sub sandwich that you splurged on to get extra giardiniera and extra pickled onions from the deli down the street on a warm spring day.
12/03/2020
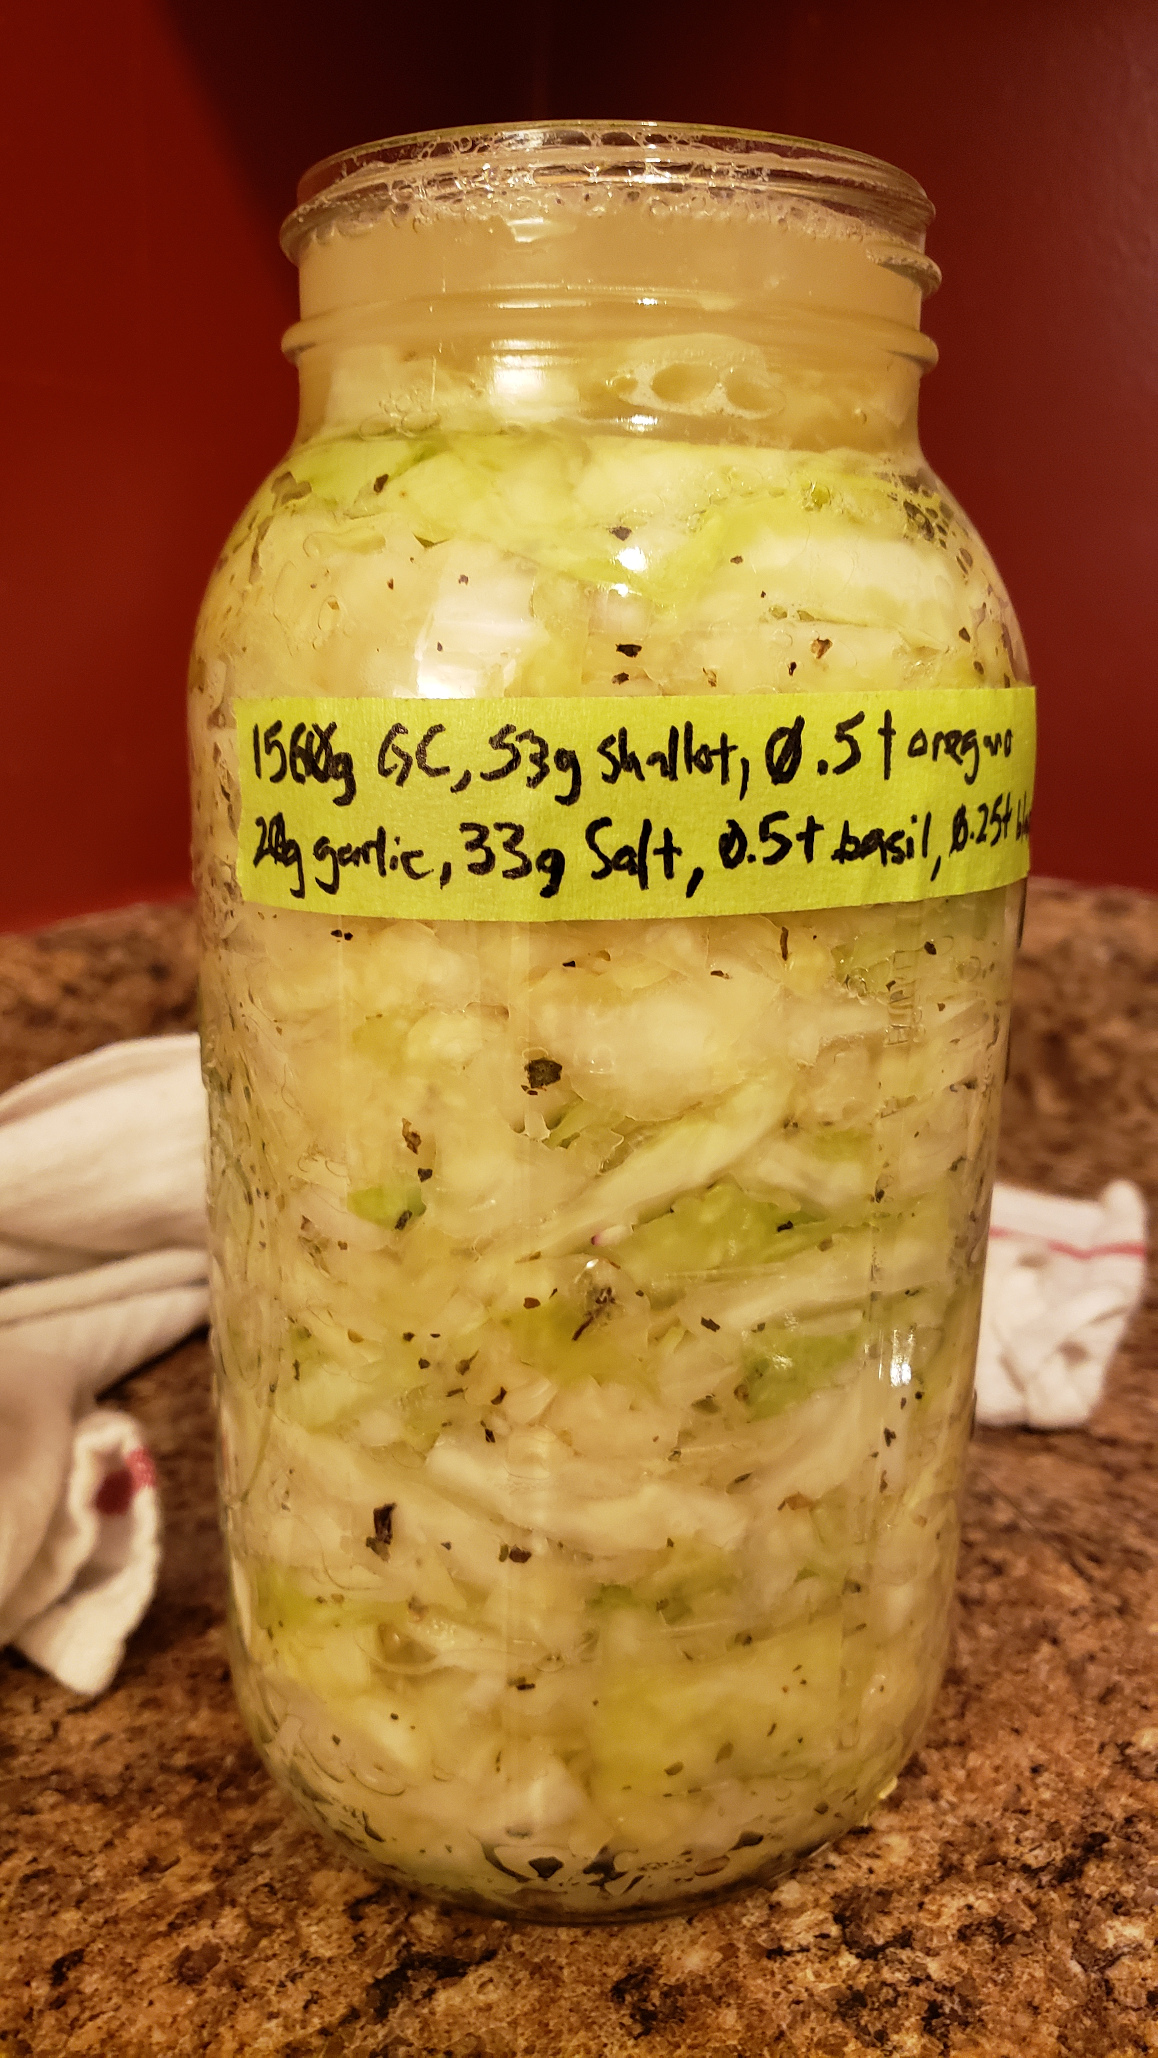
Anyhow, your patience is rewarded! Here is the ferment today. I tamped it down pretty assertively after it expressed itself onto the counter when I burped it. I pushed a lot of the air pockets out earlier and it's already reclaimed that space (I need to tamp it again). I can hardly wait a month for this one. But I will because it's worth it.
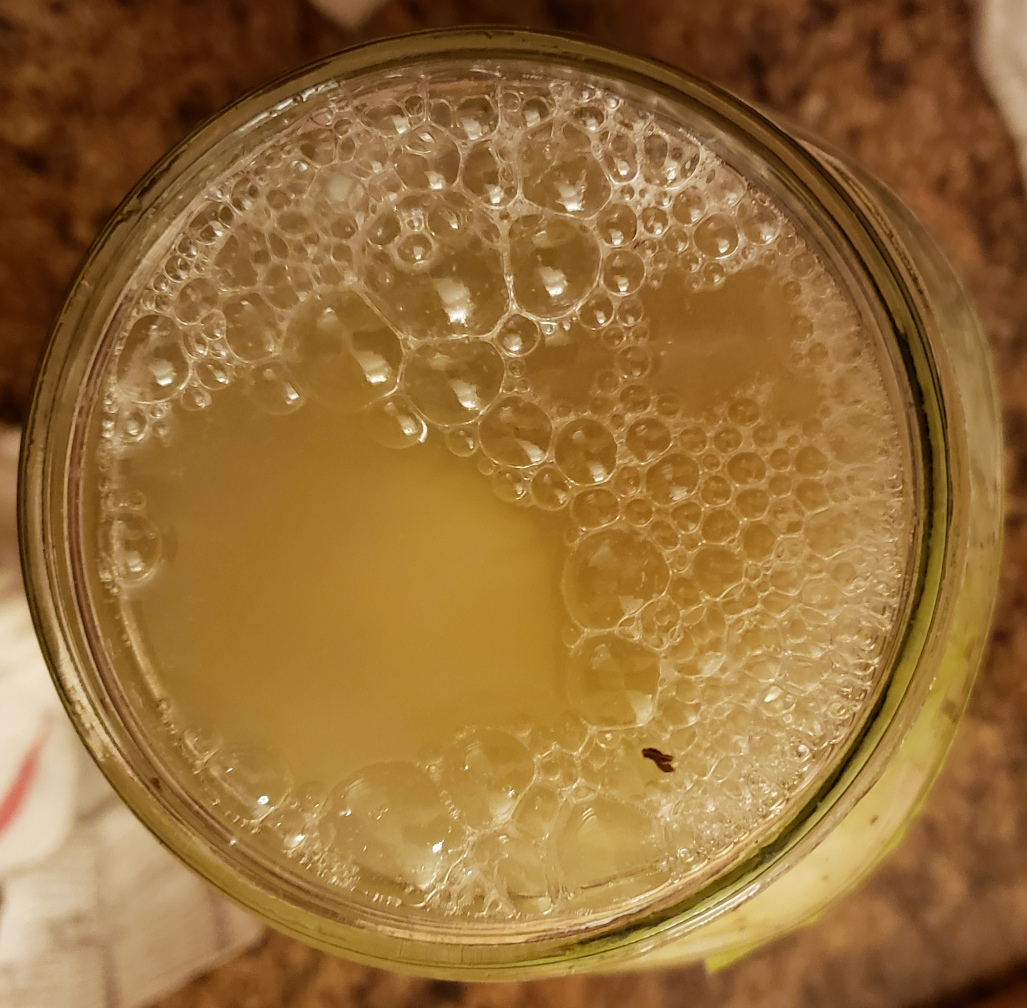
12/08/2020
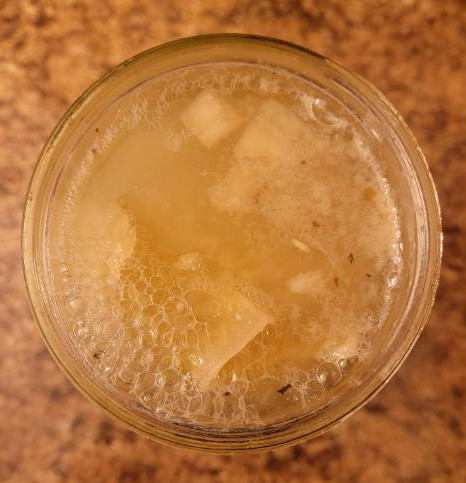
Look at those bubbles! You can tell that it's getting a little funkier now because the bubbles are smaller and the liquid is becoming cloudy. Those are both good signs! It's also starting to smell a little odd and sour. A good sign as well.
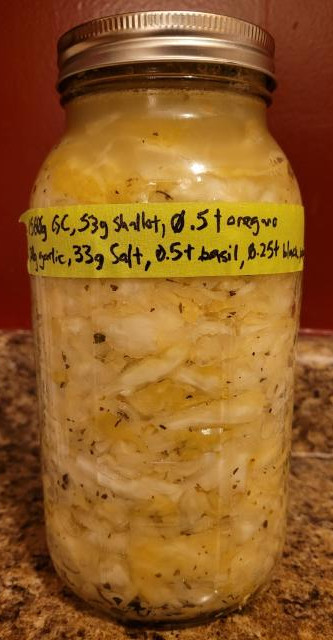
Here it is from the side so that you can see the color change. Definitely getting duller and more translucent. As I noted earlier the liquid is opaque, and there are a lot of air pockets. Good things!
12/15/2020
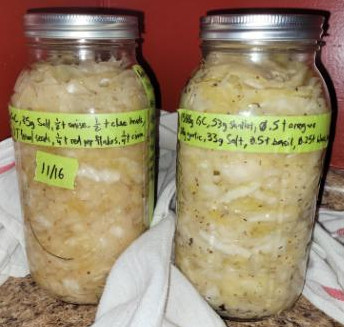
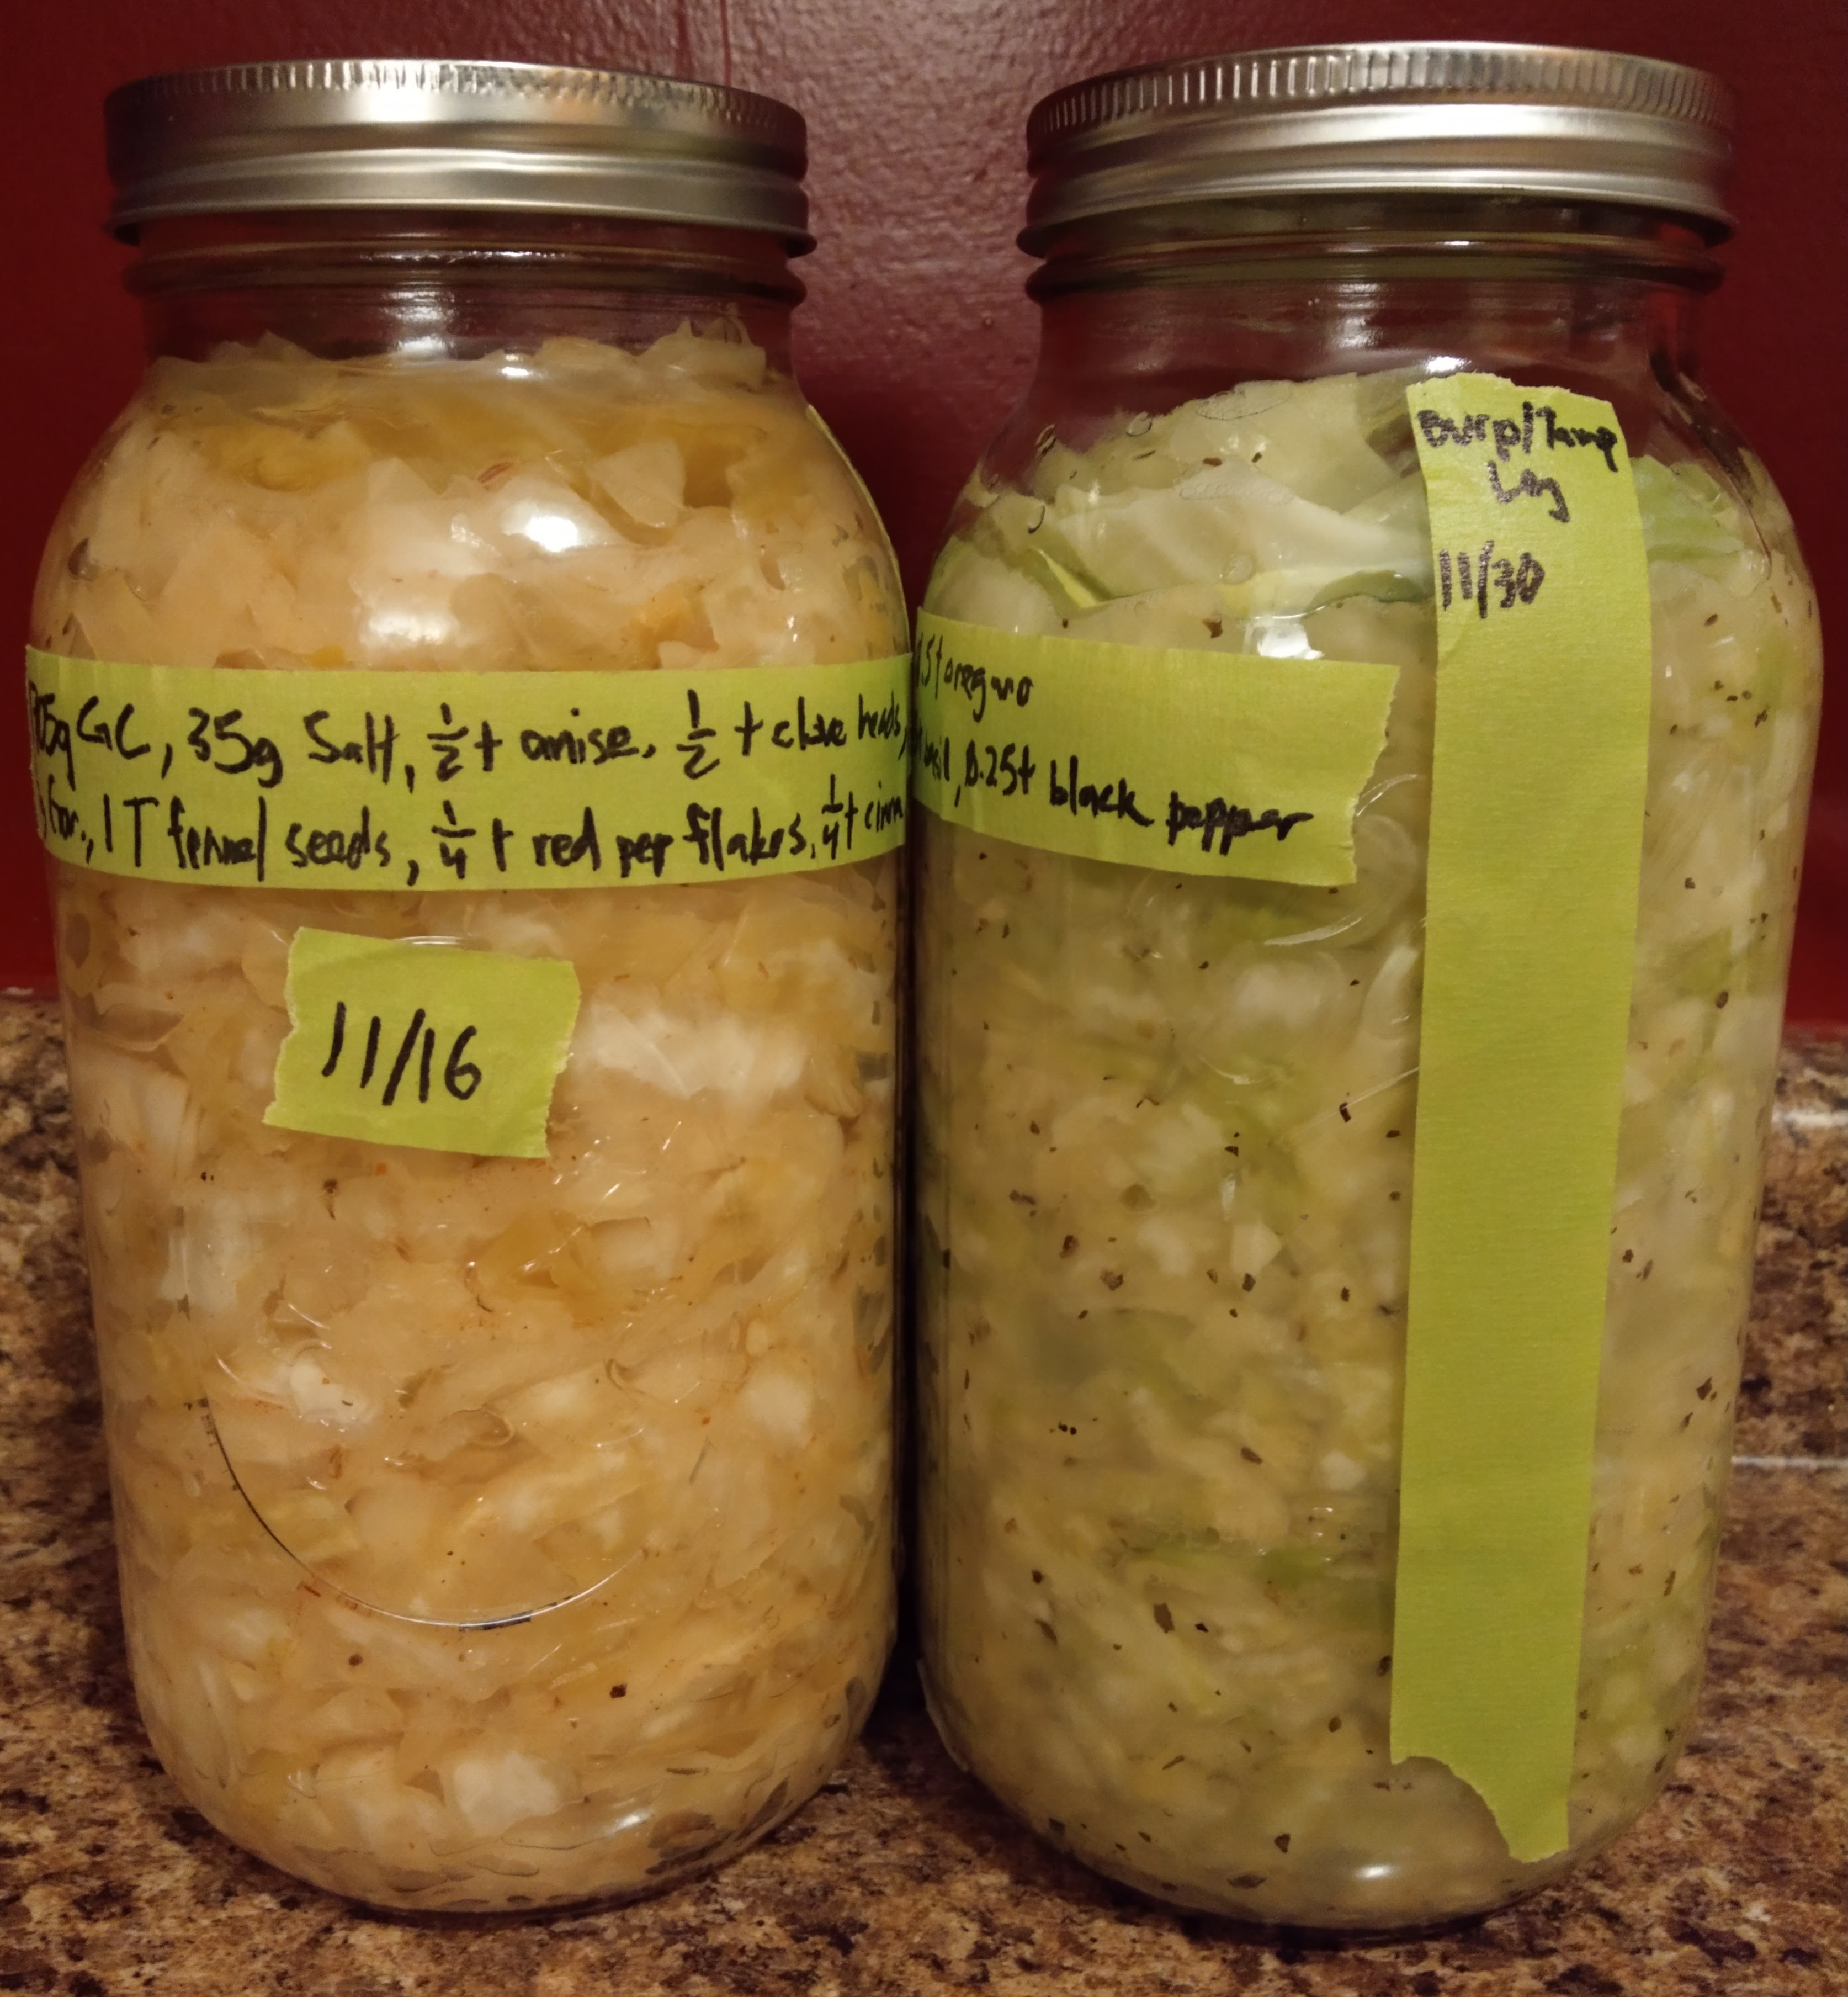
Here is the ferment on the right next to their older sibling on the left because I feel like I've been dancing around sharing for a couple days now and haven't gotten to it yet. It is no longer building pressure. The liquid is now very sour, but I'm not ready to call it finished yet. I want the cabbage shreds to become a bit more translucent like the older one on the left, and give it a bit more time to "marinate". My dad just started making bread and seems to have found a recipe that works well for sandwich bread. I have time to maybe learn the recipe before the ferment is ready, so I can put this ferment on a sandwich.
01/21/2020
I failed to document this in any form: no pictures or written words besides my ferment journal. It looks like it yielded roughly one quart of sauerkraut. I packed it into two pint jars and put them in the fridge. We ate it over steamed rice with eggs, on simple sandwiches with the bread mentioned above, as a side with other meals, and as a snack. I liked it a lot and will probably make it again sometime.
Caraway Garlic Sauerkraut, 01/24/22-02/14/22+
Slight black bread flavor from the caraway seeds, tangy, very crunchy, a little yeasty, salty, refreshing aftertaste.
01/24/2022
My partner got me a 2L ceramic fermenting crock awhile ago. I finally decided to make a large batch of sauerkraut using it. The ingredients were:
- 2 heads of green cabbage (4270g)
- 5 cloves of garlic (30g)
- caraway seeds (17g)
- toasted mustard seeds (7g)
- salt (110g)
- water (1000g)
I had to make a 2% salt brine to cover the cabbage entirely under liquid. This ferment is very much a "set it and forget it" because of the heavy weights the crock came with, the deep brine barrier, and the lack of burping. I won't follow up with this one until it is tasting time. I just check it periodically for smell and to check that nothing is growing on the surface.
02/14/2022
I decanted some of the sauerkraut today. It’s very sour and crunchy. It’s a little more yeasty tasting than I was expecting it to be—I guess I didn’t add quite enough garlic, caraway, seeds and mustard seeds—but it’s not unpalatable. There’s waaaay too much to decant all at once, so I’m taking a pint at a time to keep in the fridge until we finish it, then I’ll decant the next pint.
Plain Fermented Ginger Beer, 02/01/22-02/07/22
Sweet, molasses-y, very strong ginger spiciness, effervescent, syrupy, refreshing.
02/01/2022
I started a ginger bug today. I followed this recipe from Joshua Weissman. I used the gram and milliliter measurements: 500mL boiled water, 28g of sugar, and 22g of fresh minced ginger. I used boiled water instead of filtered because I’ve never had an issue using our municipal water for fermenting. We’re pretty spoiled: the water from our tap is heavily treated, but most of the compounds that would kill our yeast and bacteria friends evaporate when the water is boiled.
02/03/2022
Lots of bubbles after a couple feedings of 28g sugar and 22g fresh, minced ginger. I’ll probably start the ginger beer ferment stage tomorrow.
02/04/2022
My partner helped me out with this stage. We added 273g of light brown sugar and 54g plus a little extra grated and chopped ginger to 800mL of water. Once that had boiled through then cooled, we strained it and added it to a 2L jar with 110g of the ginger bug. We’re starting out with a plain version to see what the base tastes like.
02/07/2022
First taste! We strained some into a pair of pint glasses. There was a touch of yeast floating on the top in the fermenting jar, but it’s nothing concerning: looks like a kombucha top, almost. It’s honestly consumable, I just have a hard time with some stringy and slimy textures.
Anyway. It’s lightly fizzy. I think if our apartment were warmer or if we used sugar that’s more “available” to the yeast, like white or raw cane, it may have come out more bubbly. I’m not complaining, though—I liked that it was ~effervescent~ rather than CarbonatedTM. It’s suuuper super gingery. I thought it wasn’t going to be because of some of the comments on the videos and recipes I read besides the one we based our batch off of. I guess we did add some extra ginger to the brewed component, but not too much. It’s that kind of pleasantly-burning-in-your-chest, quickens-the-heart spicy that doesn’t hurt. The brown sugar gave it a nice deep, rich, almost caramel flavor and it wasn’t too sweet (to me, at least).
All told, we made about 6 full servings and we still have the capacity to make 3-4 batches from what’s left in the ginger bug (I’m going to keep it going by replenishing it as long as I can rather than run it dry, though). The organic ginger we used cost around $5.21 USD, and my partner bought well over twice what we needed for the first batch. Sugars are something we have on hand because I bake anyway. So this seems like a pretty simple and economical way to make some strong-flavored carbonated beverages as a consumable hobby.
Spiced Fermented Ginger Beer 02/10/22-02/14/22
Strong ginger taste/experience (burning in chest and mouth as before, just less), bubbly, sweet, molassesy, has the beginnings of a sort of mulled apple cider spice to it.
02/10/2022
My partner wanted to do a spiced version next. So, we followed the same recipe as the prior ginger beer for the base, and added 1 cinnamon stick, 4 cloves, 3 allspice berries, and maybe 1/8 teaspoon of nutmeg to the ginger beer stage liquid. We used light brown sugar as the sugar source. This batch smells more complex. We’re planning on adding lime juice at time of serving later, as well. I accidentally poured in 118g of the ginger bug instead of 110g. That’s not a huge difference. I don’t know if that will provide too much yeast and it will get too bubbly, but we’ll see.
02/11/2022
There are already bubbles and seeming yeast colonies forming on the surface. I’m pretty excited.
02/14/2022
This one is a little mellower on the ginger front. It has more complexity, but the other spices aren’t popping out enough. I think next time I want to double the amount of other spices we added. It’s great with a splash of lime juice. It did end up more carbonated than the last batch.